If you’re thinking about going solar in Utah, chances are, you’ve heard people talk about “net metering” and how it can “earn you credits.” But what does that really mean for you as a homeowner, especially with different utilities offering different rates, rules, and credit structures? In this article, I’ll walk you through what you need to know about net metering in Utah, including how export credit rates vary depending on your utility provider and answers to the most common questions.
Does Utah Allow Net Metering?
Yes, Utah allows net metering. In fact, it’s built into state law. According to Utah Code Title 54, Chapter 15, public utilities are required to let homeowners connect solar systems to the grid and receive credit for extra energy they generate.
Simply put, if you’re a customer of a public utility, you can generate your own electricity and feed the extra back into the system.
Again, note that this rule only applies to public utilities — and in Utah, that pretty much means Rocky Mountain Power (RMP). It’s the only public utility serving most of the state, and it’s regulated under state law that requires net metering options.
That said, if you’re served by a municipal utility — like those in Provo, Murray, or Bountiful — you’re not bound by the same net metering laws. These cities set their own policies, credit rates, and program rules. That’s why solar customers across Utah don’t all get the same deal (more on that later).
Just so that we so we don’t get too deep too quickly, let’s back up a bit and recall what net metering is. Net metering is basically a system that lets you earn energy credits when your solar panels send extra power to the grid. Let’s say your panels are producing more electricity than you’re using during the day. That extra energy doesn’t go to waste. It flows into the grid, and you get credit for it. Later on, maybe at night or on a cloudy day, you can pull power from the grid using those credits to help cover the cost. You won’t always get credit at the full retail price, but those credits still shave dollars off your bill. The more energy you produce and use yourself, the less you owe. Simple as that. Once your system is installed, inspected, and approved for interconnection, you’re typically enrolled in net metering, though this isn’t automatic. Most utilities require you to submit an application first, but your solar installer usually handles that part for you.
How Does Net Metering Work in Utah?
We’ve already explained how net metering works: the credits you earn help lower your electric bill and save you money. But how much you save? That depends entirely on your utility provider.
Let’s look at five main utility providers in Utah and how each one handles net metering.
Note: The info below is accurate at the time of writing, but utility policies and rates can change.
Rocky Mountain Power
Rocky Mountain Power is the main utility provider in Utah, serving the majority of residents across the state. If you live in Utah, there’s a good chance this is your electricity provider.
And if that’s so, you’ll be enrolled under Schedule 137 — the Net Billing Program.
Under this arrangement, you’ll earn credits based on the following export rates:
- June–September: 5.704¢ per kWh
- October–May: 4.199¢ per kWh
So yes, you still get credited for the extra energy your system sends to the grid — but it’s only about half the current retail rate, which is around 10–12¢ per kWh.
Other important info to keep in mind:
- Net metering cap on system size: Residential customers can install home solar systems up to the maximum of 25 kilowatts (kW) to qualify for net metering.
- Unused solar credits: Any extra credits you haven’t used by the end of March disappear and won’t roll over onto the next year.

Going back to energy credits earlier, Rocky Mountain Power’s export rates aren’t great compared to the retail rate. But it wasn’t always like this. Back in the day, Rocky Mountain Power offered full one-to-one net metering under Schedule 135. That meant every kilowatt-hour you exported to the grid was credited at the exact same rate you’d pay to use one. Then came Schedule 136, a transition program that still offered better rates than what we have now, though slightly reduced from the full retail rate. Customers who signed up during Schedule 135 or 136 were grandfathered in, meaning they can keep their original, more favorable credit rates for now, as long as they don’t change their systems or leave the program. These programs were eventually phased out as regulators and the utility reassessed the cost of supporting rooftop solar. This big change is the reason why savings today rely more on timing your energy use rather than relying on accumulated credits.
Provo City Power
Unlike RMP, which is investor-owned, Provo City Power is community-owned and serves as the only utility provider for Provo residents.
The export credit rate for excess energy sent back to the grid is approximately 6.742¢ per kWh, which is slightly higher than what RMP offers.
Provo City Power allows unused energy credits to roll over each month. However, any remaining balance not used by the end of February is cleared out and doesn’t carry into the next year.
Murray City Power
Murray City Power is the municipal utility that provides electricity to homes and businesses in Murray, Utah. It has offered a net metering program since 2006.
Unlike the two previous utility providers, Murray City Power offers one-to-one net metering. This means they give energy credits to customers at the full retail rate for excess solar energy sent back to the grid.
This applies only to solar systems with a capacity of up to 10 kW.
Excess credits for the current billing period will roll over to the next one, but will be reset to zero at the end of April for each year.
Brigham City Public Power
Brigham City Public Power (BCPP) provides electricity to homes and businesses in Brigham, Utah. On August 18, 2022, BCPP switched from a net metering policy to a net billing system.
Excess energy sent back to the grid earns you credits worth 4.7¢ per kWh.
Bountiful City Light & Power
Bountiful City Light & Power (BCLP), the municipal utility serving Bountiful, Utah, offers net metering to residents, but their setup works a little differently compared to the others mentioned earlier.
Basically, solar customers have two billing options: the Net Metering Hybrid and the Feed-in Tariff (FIT).
First, Net Metering Hybrid is the default setup for new residential solar customers. The export credit rate is 5.0¢ per kWh. You’re eligible as long as your solar system is 10 kW or smaller.
The second option is the Feed-in Tariff (FIT), which you can choose if you want all your solar electricity to be sold back to the utility instead of using it in your home. Under this setup, your energy credits are based on the time of day, with rates increasing when demand is higher:
- 12:00 AM – 12:00 PM (Midnight to Noon): 5.46¢ per kWh)
- 12:00 PM – 4:00 PM (Noon to 4 PM): 8.25¢ per kWh
- 4:00 PM – 12:00 AM (4 PM to Midnight): 12.72¢ per kWh
For a bit of context, Bountiful City used to offer full net metering before switching to the current net billing policy. Customers who enrolled under the old program were grandfathered in, but their export credit rate was later adjusted to a slightly lower value of 7.50¢ per kWh.
Why Are Exported Solar Energy Credits Lower Than the Retail Rate in Utah?
Exported energy credits are usually lower than retail rates because, as utilities claim, they’re not just selling you raw electricity. They also have to cover things like delivery, maintenance, and grid infrastructure. As a result, homeowners get paid less for the extra solar energy they send back to the grid.
With that being said, it’s key to have a system that’s accurately designed to match your energy use and focus on using your solar power while it’s being produced, rather than counting on big returns from exporting it.
Is Net Metering in Utah Worth It?
Yes, net metering is still worth it, even with the lower credit rates.
If your solar system is designed to cover most (or all) of your electricity usage, the real savings come from avoiding future rate hikes. And with Rocky Mountain Power’s nearly 18% increase that took effect in early 2025, that’s no small deal.
So even if the energy you export earns you less through net billing, you’re still saving money each month — and savings are savings, no matter how small.
Besides, there are other ways to make solar more financially practical:
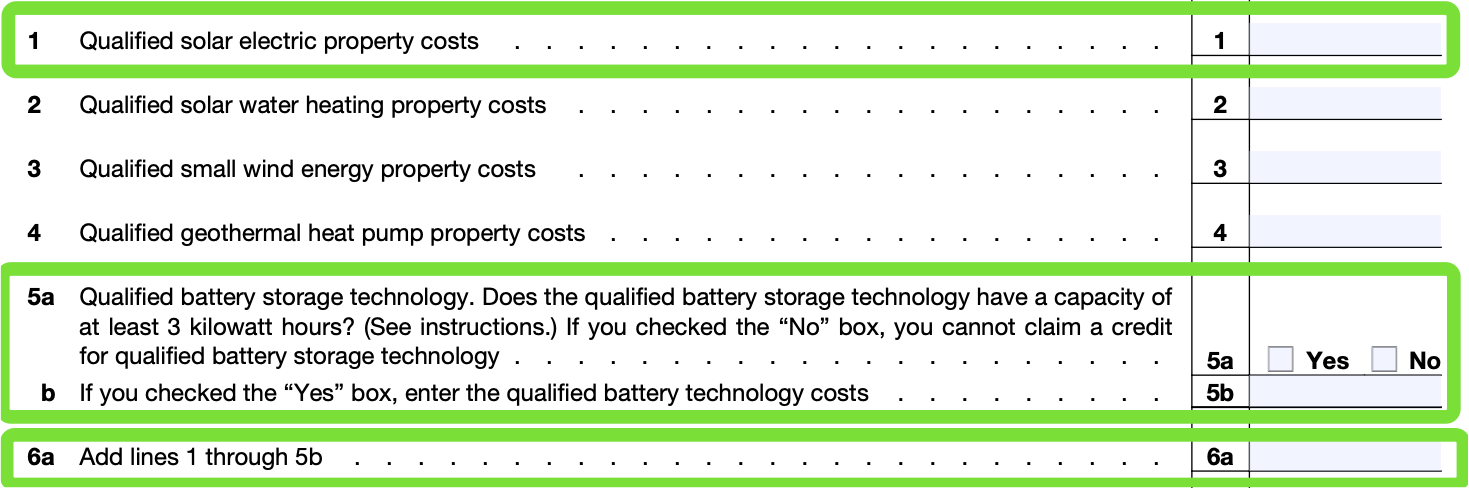
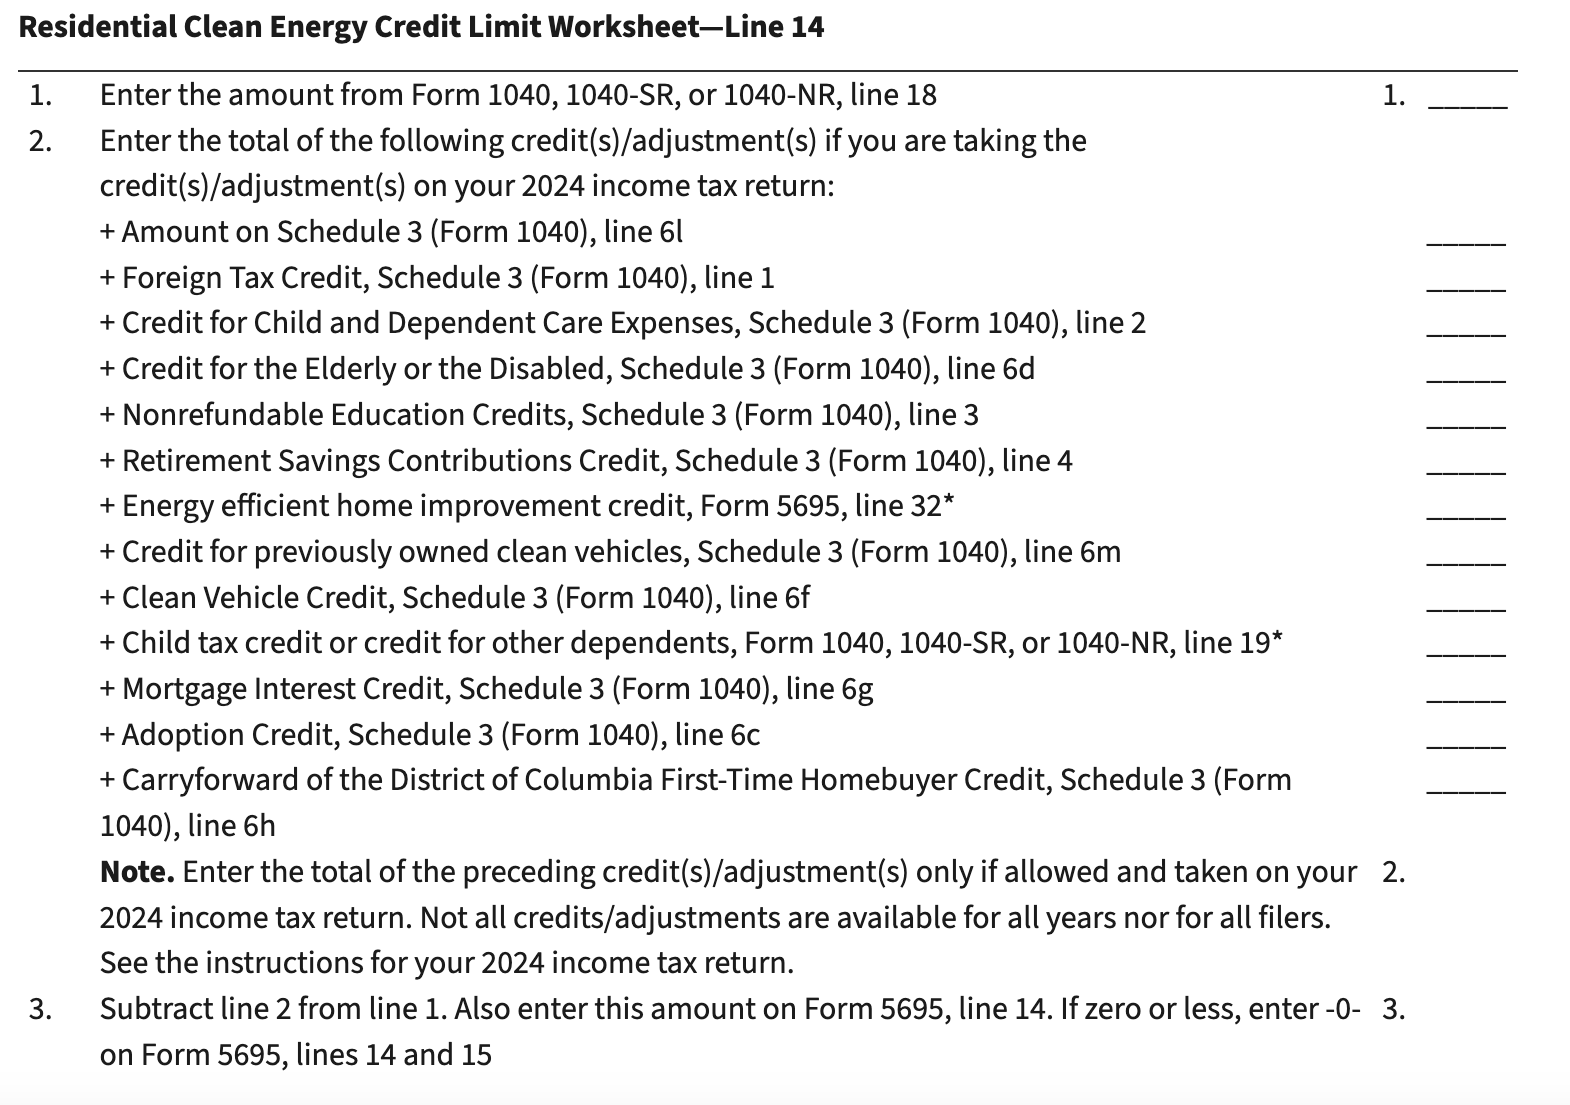
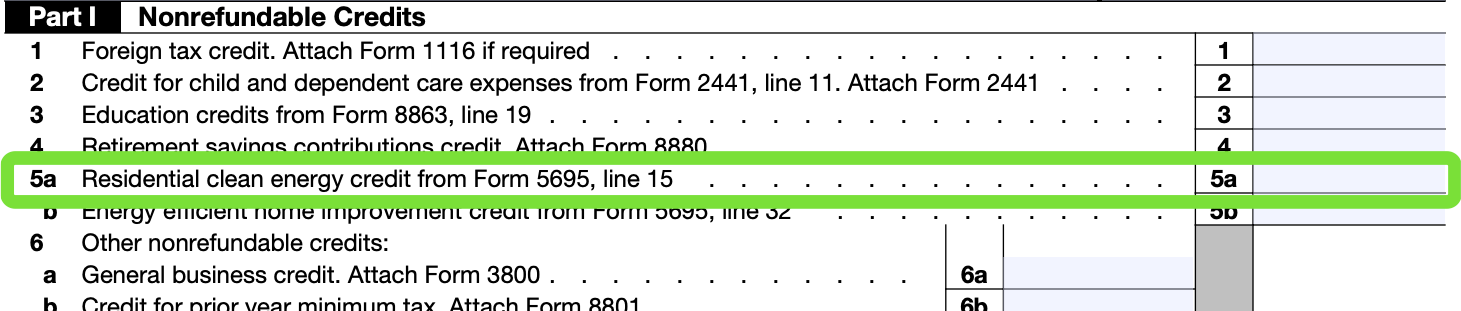
- You can claim the 30% Federal Tax Credit, which dramatically lowers your upfront cost off the bat.
- Depending on your utility, you might also benefit from time-of-use rates, where electricity costs less during off-peak hours.
- You can invest in a solar battery to store excess energy your system generates, instead of sending it back to the grid at a smaller rate.
Can I Have Solar Without Net Metering?
Yes, you can have solar without net metering, but that typically means going completely off-grid, which requires a battery storage system to power your home when the sun isn’t shining.
That said, going off-grid isn’t usually practical for most homes. It means you’ll need enough battery capacity to handle your nighttime and cloudy-day energy needs, and this can get expensive pretty quickly.
Off-grid setups tend to make more sense in remote areas where connecting to the grid just isn’t possible — like cabins, farms, or critical systems that need power even during extended outages.
Looking for a Certified Solar Installer for Your Home?
Avail Solar is an end-to-end solar service provider. That means when you decide to go solar, we’ll take care of everything — from planning and design to permits, installation, and maintenance — so you can have a truly stress-free and hands-off solar transition experience.
Request a quote today or call us to speak with one of our solar experts!